Exposure Compensation – Under Exposure To Darken Highlights
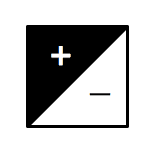 If you find that you’d like to darken the way a photo looks this can easily be achieved using exposure compensation. Pressing a button or accessing a menu item that looks like the one on the right accesses this. Whilst pressing this button or accessing this menu item move the indicator to the minus side, e.g. -1, or -2. This will underexpose your photo by that number of stops.
Exposure compensation only has an effect on the photo in A, S, Tv, or P mode.
Exposure compensation is useful particularly when using matrix metering mode.
If you encounter a scene which has atmospheric lighting such as a bar or night market, you will find photos created using matrix metering mode will have brighter shadows which results in a loss of atmosphere in the final image. By choosing to underexpose the photo using exposure compensation you can keep that shadow areas dark, which means that the lights will be more emphasised and you will retain the atmosphere of the scene in your photo.
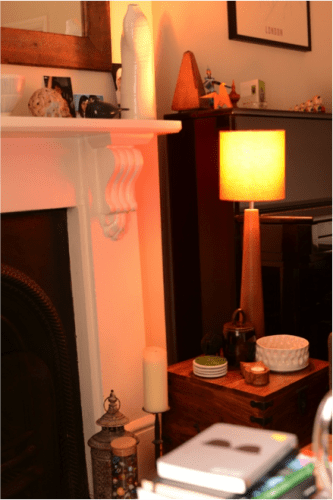
No exposure compensation with matrix or average metering. Note that the shadows are moving towards a mid tone and the light is losing some colour becuase it is very bright
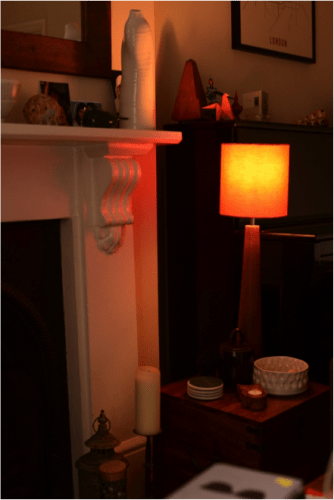
-2 exposure compensation. Now the shadows are truly dark and we retain the detail and colour in the brighter part of the lamp.
You can use the minus side of exposure compensation to make bright areas look better in your photo. This works well in bars and rooms that have atmospheric lights.
Matrix metering makes the dark area brighter and also causes the bright areas to become very bright. By selecting -2 in exposure compensation you can make the dark area go very dark, which is fine in this example, and ensure the bright areas are well exposed which works well when you want to emphasis atmosphere.
Achieving an exposure that prioritises the light areas of the photo is called exposing for the highlights.