Most of us don’t live in a world where our subjects are perfectly made up and fed on a diet of wheatgrass and alpine mineral water to cultivate perfect skin. We do though have cameras and lenses which are good enough to capture every imperfection; so we think it’s worth spending a couple of minutes to subtly enhance the appearance of skin in most portrait images.
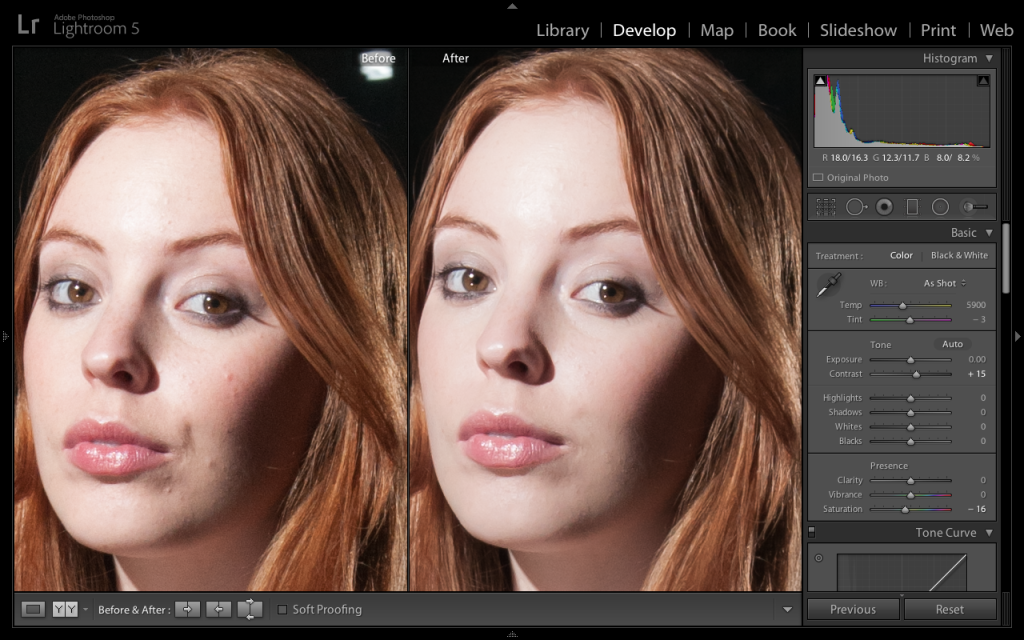
Two quick, simple and effective re-touching techniques were used on this photo.
The first was to take use the heal or clone tool to clone out any minor skin imperfections. Most editing applications have a heal or clone tool. In Lightroom it’s in the develop module and looks like a circle with an arrow. Simply select the heal or clone tool, adjust it to a suitable size and click on each imperfection to remove it. The editing application will replace the area you selected with a similar blemish free area and it will seamlessly remove the imperfection. Once you’re used to using this technique it becomes very quick and easy to do.
The second technique is to apply an adjustment brush to all areas of our subject’s skin. Lightroom has a soften skin pre-set brush which is effective, it is basically a reduction in clarity, and you can adjust its intensity to your taste. Select the adjustment brush and either choose the soften skin pre-set, or manually reduce the clarity setting of the brush yourself. Press O to see the area you have applied the brush to show up in a colour. Apply the brush to all areas of the skin, avoiding the eyes and mouth. Select auto mask to help stop the brush going into areas you don’t want it too.
If done correctly the retouching shouldn’t look overdone or artificial, but will make skin appear much better.
We’re not fans of extensive retouching of portrait images, it takes too long and is too often overdone, but we do recommend subtle removal of blemishes using a clone tool and the use of a skin softening adjustment brush as outlined above.
The above example was created in Lightroom 5, and other editing applications have similar tools.
Here’s the final image: