What did the guy who made photography mainstream say about light?
He said, “Light makes photography. Embrace light. Admire it. Love it. But above all, know light. Know it for all you are worth, and you will know the key to photography.”
His name was George Eastman and he founded Eastman Kodak.
But what does that really mean?
Look at these 4 photos:
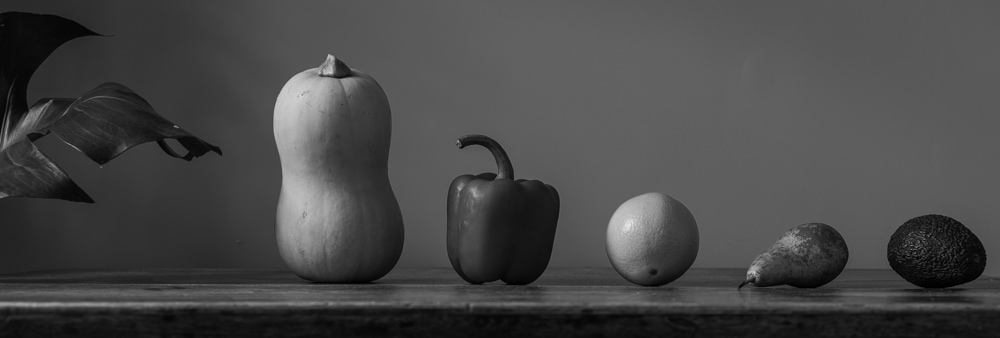
What do you know about the light in these photos?
What changes from picture to picture?
Which photo do you like the most?
There are two important things to understand about the light in these photos.
The light is from one side.
Photos look good when we can sense the texture and shape of objects in the picture.
This happens when light hits a subject from one side and you see a difference in brightness across it.
The is called directional light, and it is a fantastic type of light to to use for photography.
Windows are a great source of directional light because the light form outside enters a room through them. It means the main light source is from the side rather than straight above.
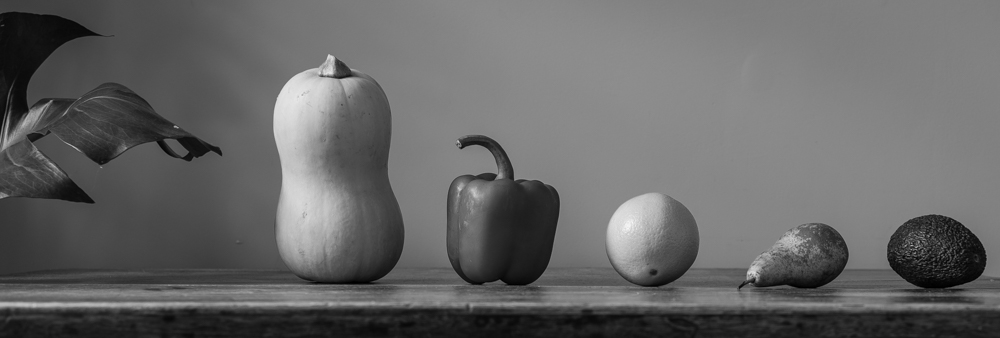
The exposure has been controlled.
The next things to know about the light in these photos is that the amount that has hit the sensor has changed from picture to picture.
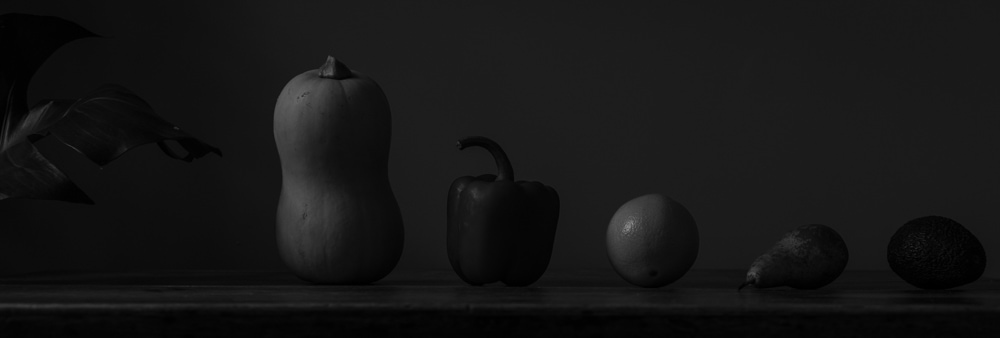
In the top photo, the shutter was open for longer so it is brighter. The shutter speed was the shortest in the last photo, so it is darker.
This changes the look of the photos a lot.
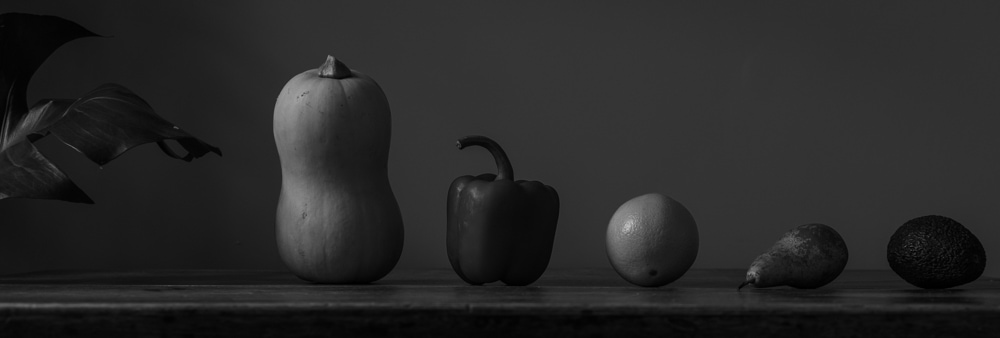
In each photo there are different amounts of dark and shade, and different parts of the fruit and vegetables are emphasised by this.
Controlling exposure is not just about making photos lighter or darker, it is also about emphasising different parts of a picture through light and shadow.
When you are good at photography you learn to see in terms of bright tones, mid tones and dark tones.
Look for the parts of these photos which are brightest, and look for the darkest areas.
Controlling the amount of light that enters your camera is the second thing to master with light.
What can you photograph this week using directional light? And can you make the photo brighter or darker to get different looks?
Andrew Mason is a professional photographer and the founder of the 36exp Photographers School plus the London Photo Show.
He shoots mainly commercial portraits for a living, and likes to shoot landscape, portrait and travel photography.
He is a master of lighting and portrait photography, plus leads photography trips with 36exp.