A Process You Can Follow To Help Get Good Photos When You Go Somewhere New
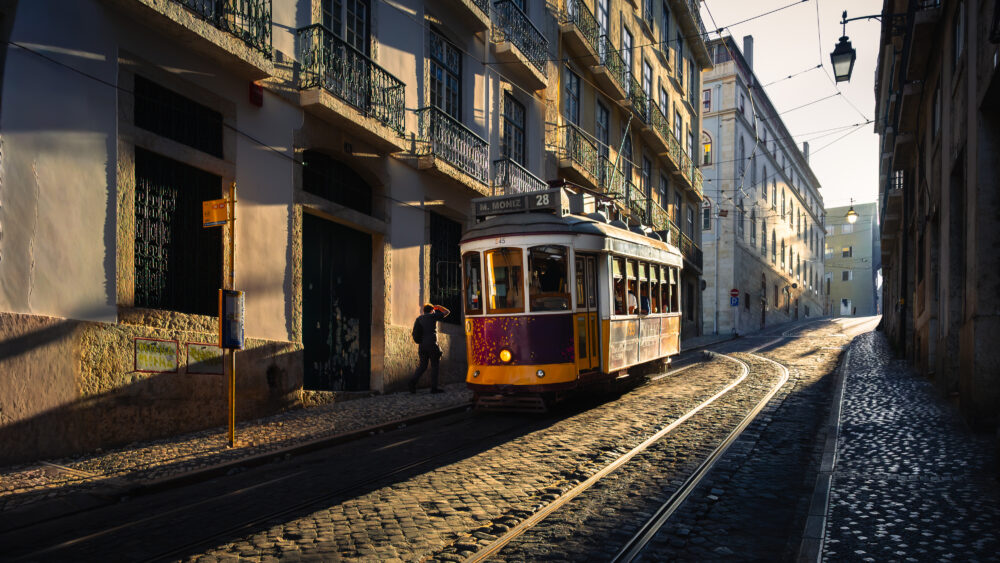
This photo gives me confidence in how I photograph a new city, even when it feels like nothing is working.
I’d been walking around Lisbon for a whole afternoon. My legs were tired and I wasn’t getting anywhere. I was starting to feel pretty down about wasting the afternoon. I’d been looking for trams all weekend and had a few shots I was kind of happy with, but nothing special.
Then I turned a corner and saw light streaming down the road. The time of day was just right, and it wasn’t going to last more than half an hour. I heard a tram coming up behind me, turned around and took two shots. This is the better one. Five seconds, start to finish.
That one shot made the whole trip worth it. It’s also why I photograph cities the way I do.
When you head to a new city with your camera, it’s easy to wander around and hope for the best. The other option is to follow a tick list from Instagram and blog posts, shoot the must-have photos and come home with the same pictures as everybody else. I don’t think either works.
This guide is the process I use instead. It helps before I go, while I’m there and when I get back.
Before you go
1. Plan where to be and when
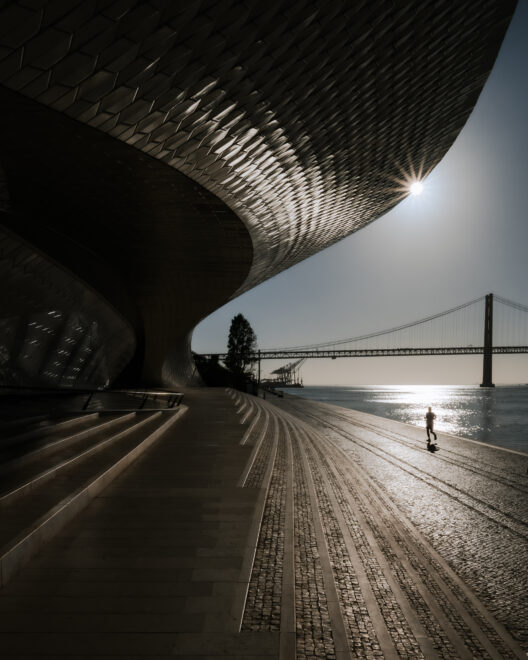
Some photos only work at a certain time of day. I could only get this one at about 9am, when the sun was in the right position. The light was great on the building and there were joggers on the path. Go at a different time and the shot doesn’t happen.
So don’t only think about where you want to go. Think about when. Ask yourself:
- Do I want this square when it’s busy or when it’s empty?
- Do I want this station when the light comes through the window?
- Where do I want the sun?
You might only have two mornings and two afternoons. Just after dawn and just before sunset give you the best light, so be in the right place then. Rest around lunchtime. That’s the hardest time of day to get good photos anyway.
2. Plan your kit
Decide what you’re shooting each day and pack for that.
For long exposure architecture, like I’ve done in Valencia many times, I take a tripod and filters. For street photography and city life, I pack light. One small camera, one lens, and wander all day. It’s fine to leave extra kit in your hotel. If you lug everything around all day for one shot, you’ll be tired and you’ll come home with nothing.
Don’t try to shoot long exposures and street photography on the same day. Decide where you’ll be, when, and with what kit, and take only that.
3. Know the icons, then decide how you’ll shoot them differently
Every city has its icons. Lisbon has its trams, Paris has the Eiffel Tower, New York has the Brooklyn Bridge. You’ll want to photograph them, and you should. They’re probably part of why you’re going.
But I live in London, and I’ve seen St Paul’s Cathedral with a bus and a phone box in front of it a million times. Same with Big Ben through the archway, and the shadows in the Tate Modern. Lots of photographers tick off a list of photos they’ve already seen. Do some research before you go, but use it to find out what’s been done so you can do something different.
While you’re there
4. Photograph the icons in your own way
Take the tram. There are trams everywhere in Lisbon, and the shot of one winding down a narrow street has been done to death. So I tried other things. I photographed one as a reflection in a doorway. I photographed a toy tram. I photographed a strange, moving version of one reflected in a piece of metal.
Try these:
- Shoot through a window.
- Look for a reflection.
- Add some colour or movement.
- Change your angle.
There are so many photos around these days that we have to find our own way of seeing things. The internet doesn’t need another copy of the same shot, and neither do you.
5. Look at what’s different from home
We travel to see different things. Different buildings, food, people and light. That’s why I travel.
So notice what’s different and photograph it. The transport system is different. The food is different. People live differently, like cooking sardines outside on the street. I don’t see that at home. The colours are different and so is the light.
Make a note of what you notice. Then photograph it in an interesting way, as details or bigger scenes. You’ll come back with a set of images that shows what you saw and why you wanted to go there.
6. Give yourself creative goals
Be creative is a broad instruction, so make it specific. Spend a while shooting only reflections. Change your angle. Look for colour matches, motion blur, speed, warmth or details.
These are simple devices that make your photos look different from everybody else’s snapshots. Don’t just stand in the same spot and take the same photo everyone else gets.
7. Be open minded and prepared to fail
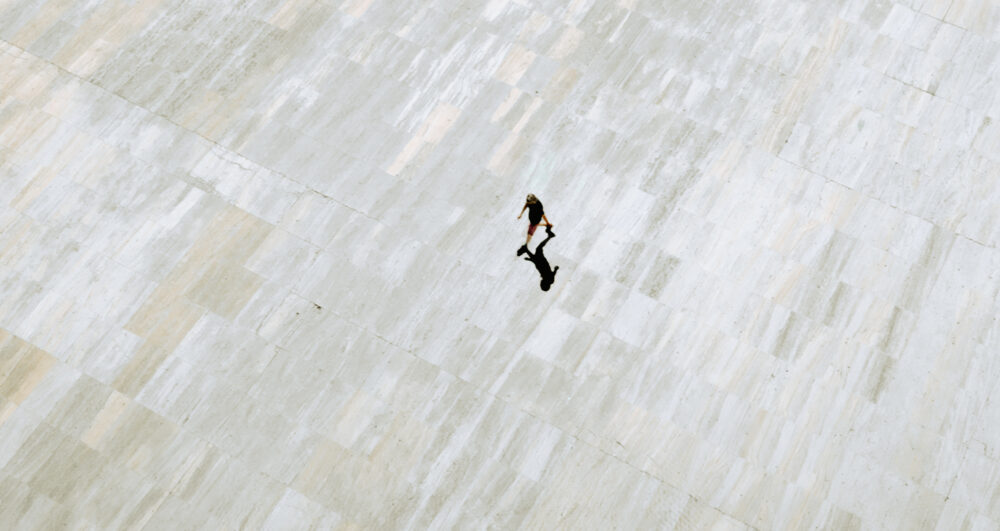
This one is a mindset more than a technique. Be prepared to wander. Be prepared to spend time on the streets and get nothing.
In Porto I spent the morning from about 9am to 1pm walking around. I found a shot with some suits in it and wanted a man in a suit to walk past. He never did. I found a bit of colour and wanted someone in a matching colour to walk past. That never happened either. It was a fairly fruitless morning.
I stopped for a coffee, then found a modern building. I got a few okay images of it, but nothing special. Then I went inside and saw a view down onto an empty square with people walking through. I waited, and got this minimalist shot of one man walking through the scene with loads of clear space around him.
I really like it, and it wasn’t the shot I’d planned to get that day. I only got it by exploring and keeping my eyes open.
You have to go to places where things don’t work to find the ones that do. You might have two hours of nothing and then five minutes of great opportunities. Without the two hours, you don’t get the five minutes.
8. Always be ready
Keep your camera in your hand or easy to pull out of your bag. I don’t mind if you shoot auto, shutter priority, aperture priority or fully manual. When you turn a corner, something might happen. Your focus is set, you pull the camera to your eye, and five seconds later the moment is gone.
Don’t be the person scrabbling around in the bag, changing settings and missing the shot. Then regretting it for the rest of the trip. We’ve all had the one that got away. I have.
When you get back (or that evening)
9. Shoot for the final selection
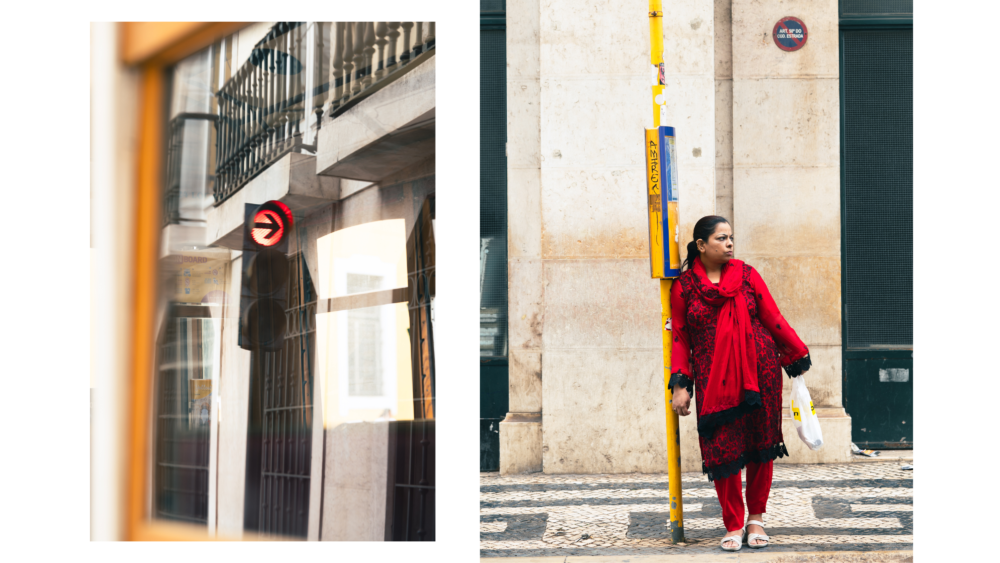
While I’m exploring, I take photos I quite like without always knowing why. Later, usually the same evening because I’ve got nothing better to do, I go through them and look for links.
Here’s an example. I had a woman leaning slightly against a post. The colours are a good combination and I like the composition. It’s okay, but it won’t win any award. Then I had a red traffic sign with an arrow, shot through a tram window. Also quite nice.
Put them together and they work. The arrow points one way and she looks the same way. The colours match. They’re both about transport.
This happens with other shots too. I had a photo of three people sitting together, so I looked for another three. I had someone looking at cakes, so I looked for more people in cafes. Two people on their phones is only mildly interesting. Add a third doing the same thing in matching colours and you have a small set.
This helps on a trip as well. If you get some average shots on day one, you can look for photos to go with them on day two. It gives you something to focus on when the big shots aren’t happening. If the green photos are working, go and find some red ones today.
Over a trip, or a few weeks, or a longer period, these little themes build up. Eventually they turn into projects.
10. Don’t give up on the one shot
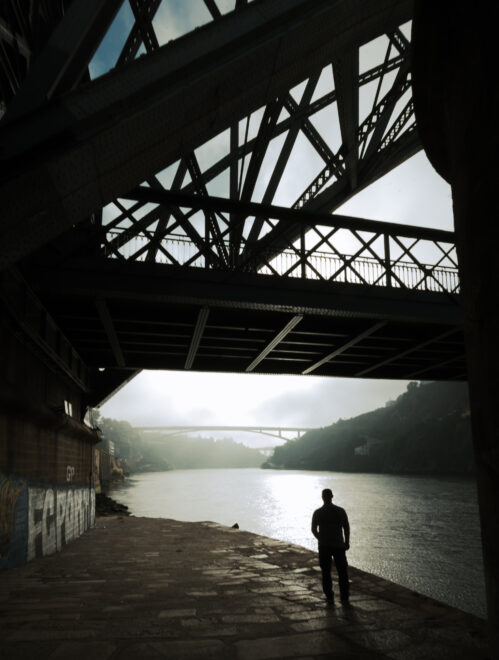
You can be on the street for hours, then turn a corner and get the one shot.
Here’s another from Porto. I wanted to photograph this bridge in the early morning mist. I went down a set of stairs and a man was standing there, relaxing. That split second gave me the bridge, the mist, the water and one figure that makes the whole shot.
The tram, the man crossing the empty square and this one are the ones I’m glad I got. You’ll get one or two like this from every trip. Don’t be disheartened if nothing happens for a day or even a couple of days. If you stay with the process, keep looking and plan where to go, you’ll get them.
You don’t need 30 or 40 amazing shots from a trip. You want a nice set of photos, but it’s often just one or two killer shots that make the whole trip worthwhile.
The short version
- Plan where to be and when.
- Pack only the kit you need for that day.
- Photograph the icons in your own way.
- Notice what’s different from home.
- Set yourself creative goals.
- Be prepared to fail.
- Keep your camera ready.
- Look for links between your photos as you go.
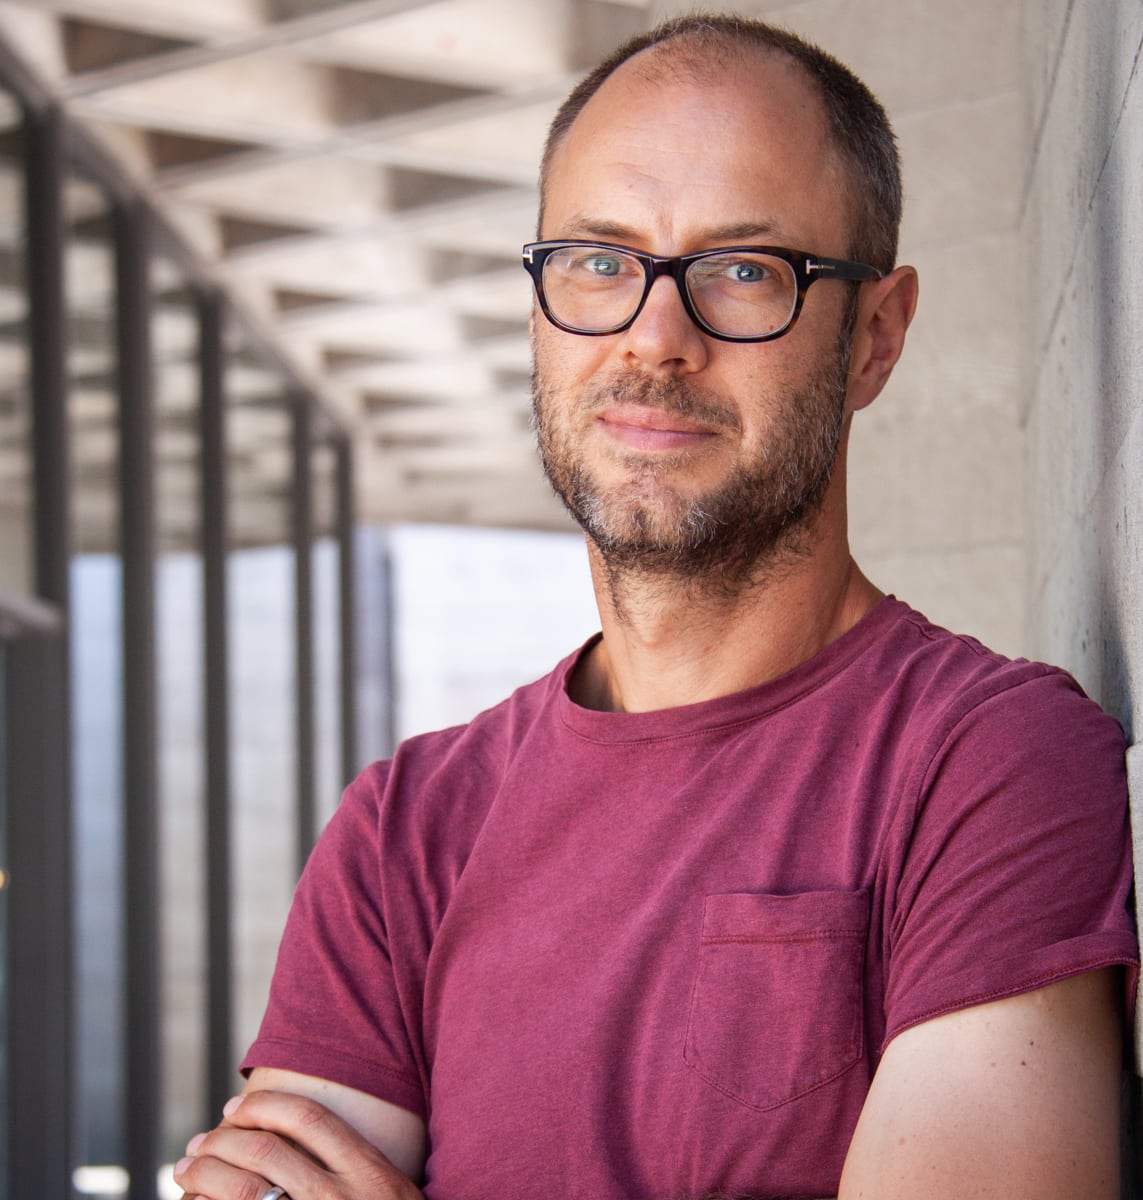
Andrew Mason is a professional photographer and the founder of the 36exp Photographers School plus the London Photo Show.
He shoots mainly commercial portraits for a living, and likes to shoot landscape, portrait and travel photography.
He is a master of lighting and portrait photography, plus leads photography trips with 36exp.
If you have other tips for photographing a new place, or things that have or haven’t worked for you, let me know in the comments.