by Andrew Mason
We often get asked about the differences between jpeg and raw. Why should you choose one over the other?
Our very simple explanation of the difference between the two formats is this:
A jpeg is basically a snapshot – a ready to go image that can be viewed on a computer screen, printed, or emailed. It’s final. You can only make small changes to the way it looks, and the camera will have applied its own settings to give the image its final appearance.
A raw file is data which has not yet been converted into an image. The camera has captured as much data as possible which needs to be converted into an image by an application such as Lightroom or Photoshop. The raw file contains more data than is represented on the back of your camera screen.
Here’s an example to illustrate this.
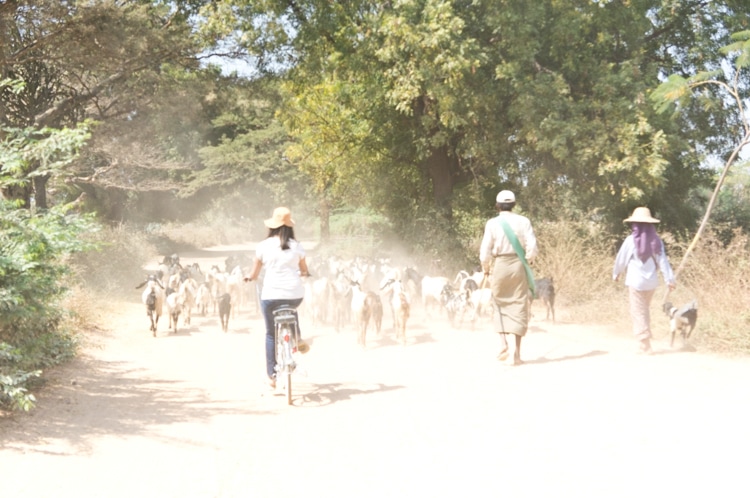
The first image below was unfortunately over exposed because the photographer forgot that his camera was in manual mode when he quickly took the shot. As you can see we have lost all of the detail in the brightest area of the image, the highlights have ‘blown out’ and show as pure white. Luckily the photographer’s camera was set to capture both a jpeg and a raw file.
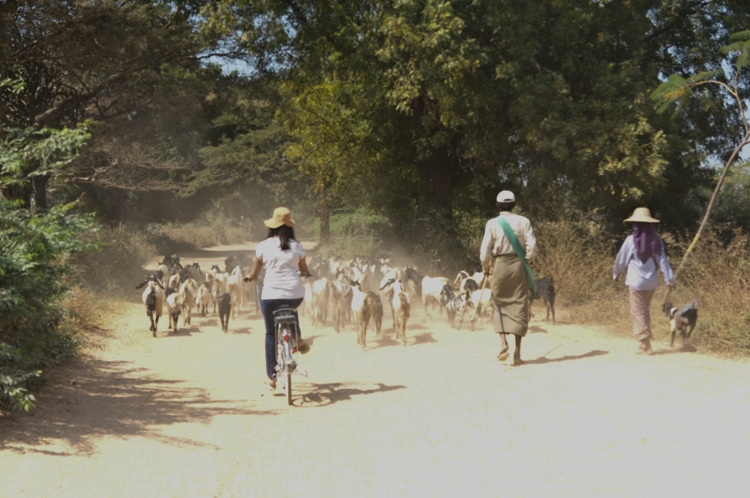
The photographer imports the image into Lightroom and realises that he has overexposed the photo. What does he do? He darkens the image by adjusting the exposure by minus 2 stops. This has the effect of darkening the photo so that we get some colour back into the blown out area and the image no longer looks over exposed. He does this with the jpeg file he captured and is reasonably happy with the results:
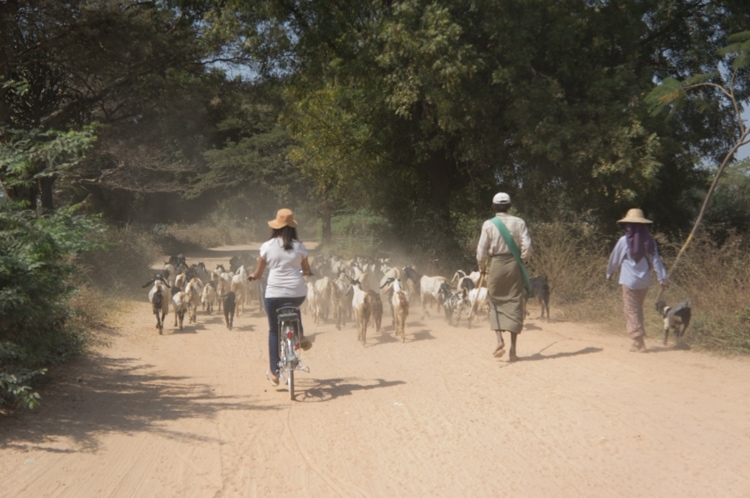
Then, after his second coffee of the day, the photographer realises that his camera was set to capture a raw file as well as a jpeg. He imports the raw file into Lightroom and adjusts the exposure by minus 2 stops. What he sees is that, not only is the photo darker, but he can now see detail in the light areas of the photo that he couldn’t see before. Look at the previously invisible texture that now appears on the track:
The jpeg becomes darker as its exposure is adjusted in Lightroom but it does not reveal any texture in the areas that were blown out. These areas appear darker in the altered imaged, but that’s all. This is because the jpeg has not captured any information in the overexposed areas of the image.
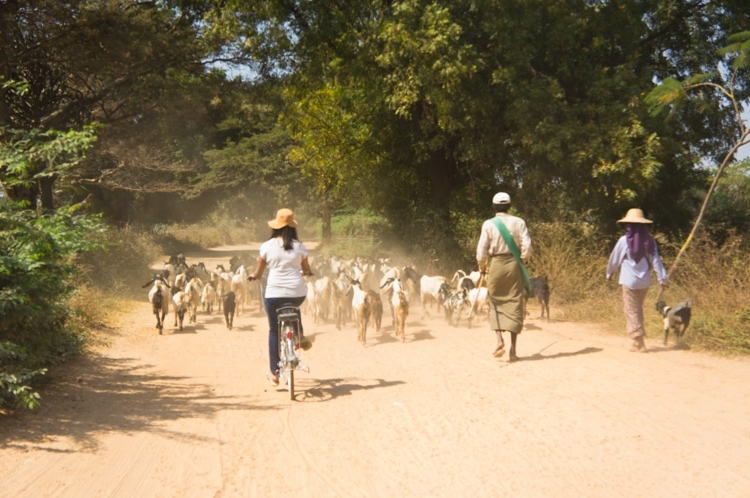
The raw file also becomes darker as its exposure is adjusted in Lightroom, and it also starts to reveal the image information that it has captured in the over exposed areas. Although it doesn’t show this detail in the preview, it does have the information and it can be pulled back into the image. A little more tinkering with the raw file to warm it up, and increase saturation, clarity and contrast gives us a final image like this:
The same applies in reverse to dark areas of an image that are lightened. And you can use applications other than Lightroom to edit your photos.
So there you have it. Raw files contain more than meets the eye.