These are the settings we recommend on our night photography courses in London.
If you’re thinking of coming on one, treat this as pre course reading. You’ll get much more out of the evening if you arrive knowing the settings and why we use them.
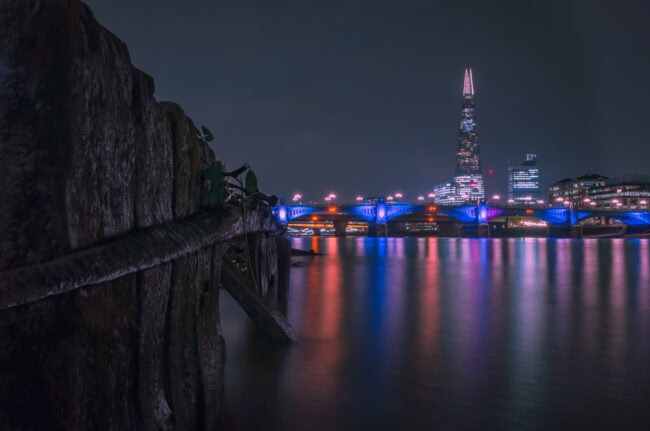
We nearly always use the same settings along the Thames: f/16, ISO 100 and 30 seconds, with the camera on a tripod. No filters.
The river and the skyline are a great subject at night. The buildings are lit up, the lights reflect in the water and a long exposure smooths everything out.
The settings
ISO 100
ISO 100 gives the best image quality. There’s less noise, more detail and more room to recover shadows and highlights when you edit.
With the camera on a tripod we can use a longer shutter speed and still get a sharp photo. We don’t need to raise ISO un less we want to use a faster shutter speed.
30 seconds
30 seconds is usually the longest shutter speed most cameras can do without using bulb or time mode.
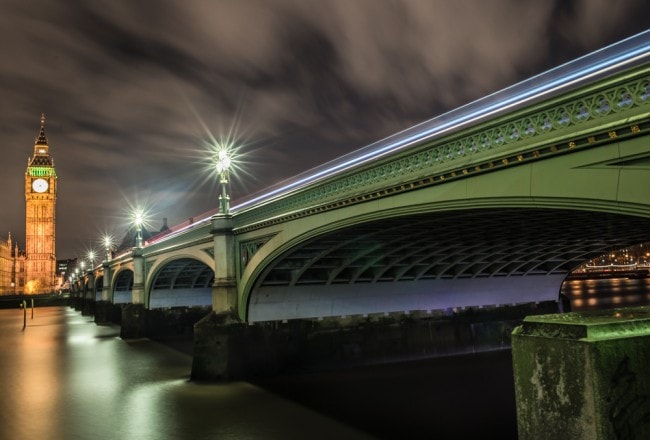
It’s plenty of time to flatten the water on the Thames, so the reflections of the lights go smooth. It also shows movement in the clouds, and passing boats turn into light trails.
f/16
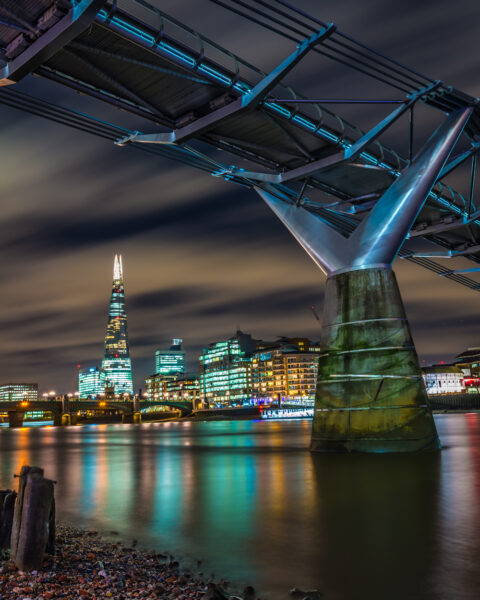
With ISO 100 and 30 seconds, f/16 gives the correct exposure for the riverside buildings and skyline.
It also keeps everything sharp from front to back and sometimes turns streetlights into star shapes.
No filter
ND filters are for long exposures in daylight. At night it’s already dark enough, so you don’t need one.
The tripod
The camera has to stay completely still for 30 seconds, so a tripod is essential.
-
- Use the 2 second self-timer or a remote release, so pressing the button doesn’t shake the camera.
-
- Received wisdom says turn off image stabilisation because on a tripod it can cause a small loss of sharpness, but we’ve never actually noticed much difference.
-
- If it’s windy wind, hang your bag from the centre column to add weight.
-
- If you shoot from a bridge, turn on vibration reduction because traffic causes the bridges to shake a little.
Shoot RAW
RAW files give you much more flexibility when you edit. You can change the white balance and bring back detail in the bright and dark areas.
Check the histogram
After each shot, check the histogram.
If it’s pushed up against the right edge, the highlights are overexposed. On the Thames this is usually the lights on the buildings. If it’s pushed against the left edge, the shadows have lost detail. At night on the Thames, we usually see both bright highlights and dark shadows so you may see a tiny bit of highlight clipping in the very bright street or office lights, but we can live with this.
White balance
White balance is worth experimenting with to get different looks. A lower setting, around 3200K, gives a cool blue look. A higher setting, 5000K and above, makes it warmer.
If you shoot RAW you can tweak it later when you edit.
Our night photography workshops
We run four night workshops along the Thames. You’ll use these settings on all of them.
-
- Westminster and the London Eye: Big Ben with light trails, the London Eye and the view from Waterloo Bridge.
-
- Tower Bridge: Tower Bridge, City Hall, the Shard and the City of London.
-
- West to East: two locations along the river, one in the west and one in the east.
-
- Thames Low Tide: shooting from the shore of the Thames at low tide.
When to go
The best time to go is after dark, once the sky is fully black. The buildings and bridges are lit up and the settings above give the right exposure.
Start with f/16, ISO 100 and 30 seconds, check the histogram and adjust from there. On the workshops we’ll help you do this at each location.
Book a night photography course
Our night courses are evening sessions in central London, in small groups. They’re for photographers who are comfortable using manual mode and want to get better results at night.
See all our night photography courses and dates
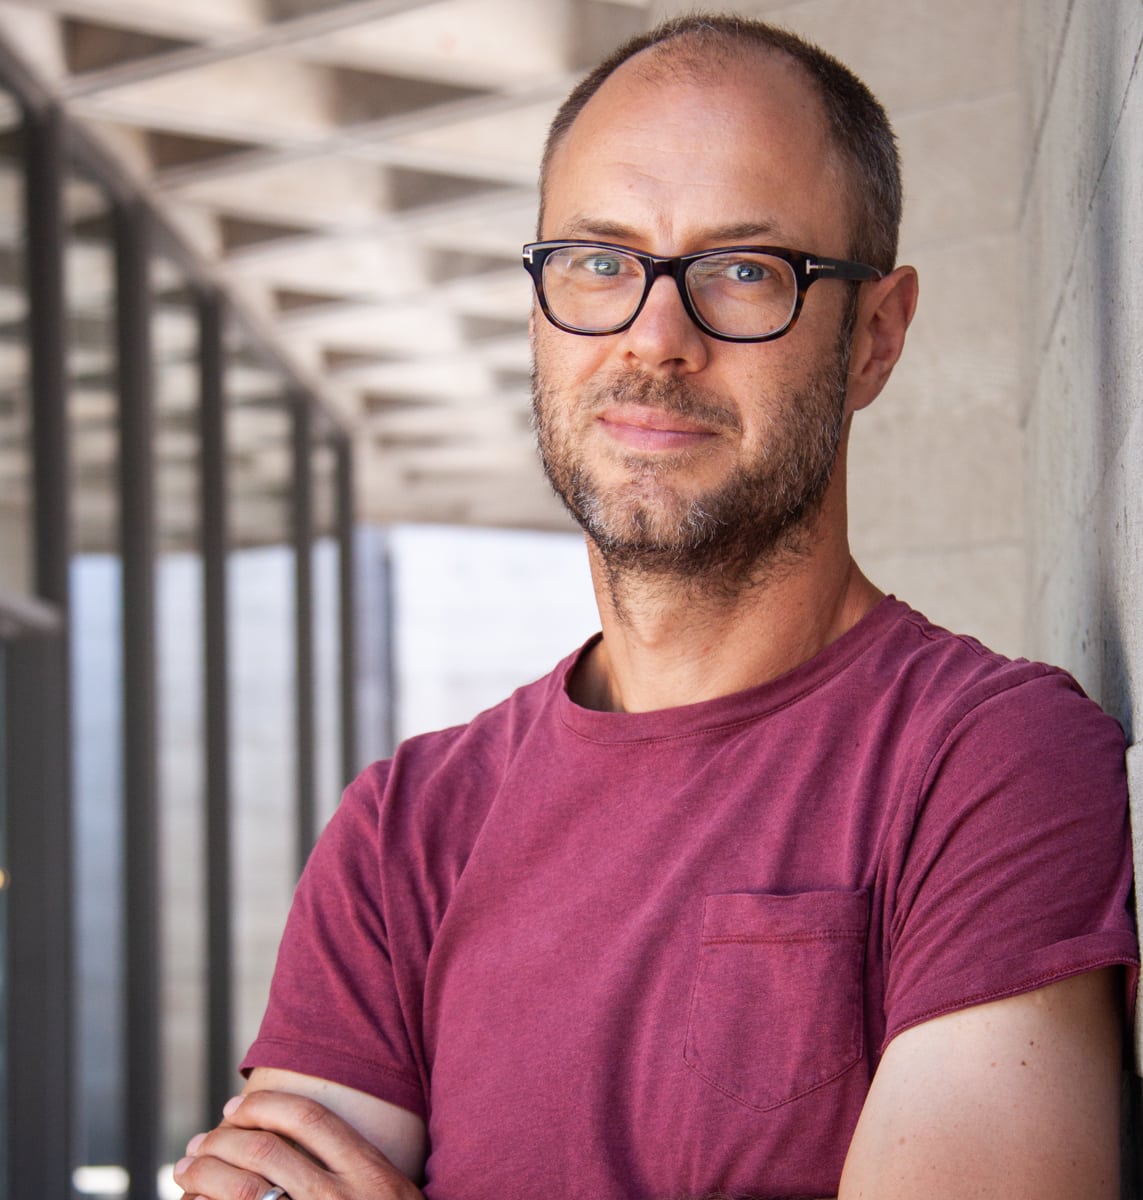
Andrew Mason is a professional photographer and the founder of the 36exp Photographers School plus the London Photo Show.
He shoots mainly commercial portraits for a living, and likes to shoot landscape, portrait and travel photography.
He is a master of lighting and portrait photography, plus leads photography trips with 36exp.